How to Make Planner Stickers at Home with Munbyn Printer

Are you a planner enthusiast who loves adding a touch of creativity to your life organization? If so, you're in the right place! You might be wondering, "Do I need expensive equipment or special skills to make them?" Absolutely not! In this guide, we'll walk you through the simplest and most cost-effective way to craft your own custom sticker planning.
Why Do People Make Planner Stickers?
Planner stickers serve as an excellent means of infusing personal flair and artistic charm into our planners, journals, and calendars. Before we dive into the process, let's explore why people are so drawn to making these stickers. One common motive is to enhance time management. By using stickers to denote various activities, like work, school, workouts, your schedule becomes incredibly clear at a glance. Moreover, the process of creating stickers is an absolute blast! As you place those adorable stickers onto your planner, you're essentially a miniature artist. You get to customize stickers that resonate with your unique style, transforming planner embellishment into a creative adventure each time you sit down to plan.
Tools You'll Need
Now, let's get into the tools that will make sticker-making a breeze. Don't worry, you don't need anything fancy or expensive—just a few basics to get started.
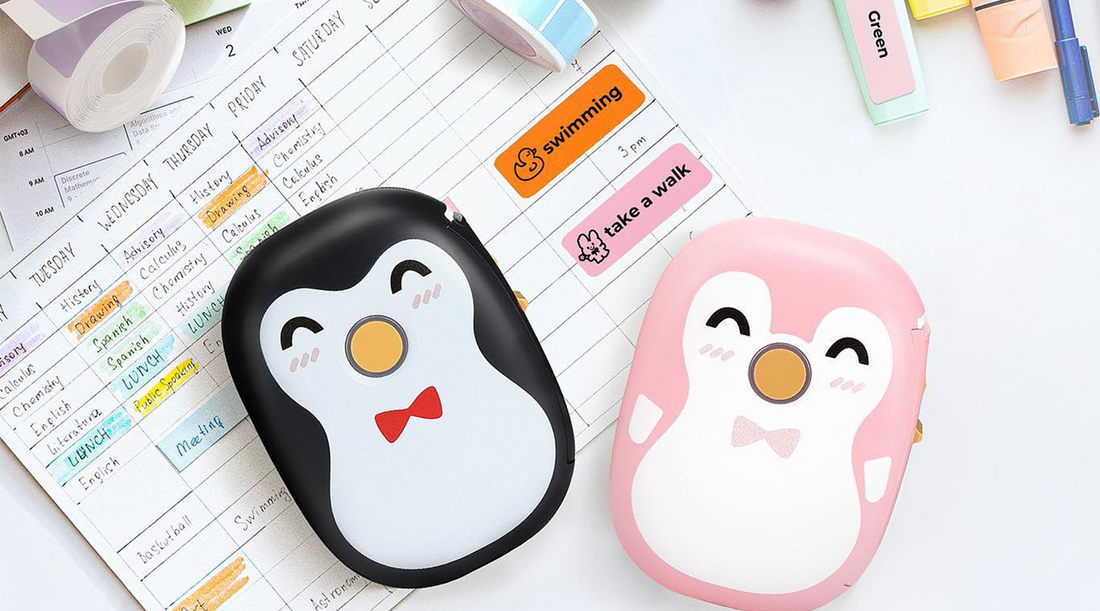
Label Printer: While color inkjet or laser printers are great, they can be costly in the long run. If you're just starting out or doing this for fun, consider a Munbyn portable label maker. It uses special technology that doesn't need ink or toner. It prints in black and white, but you can choose colorful labels to make your planner pop.
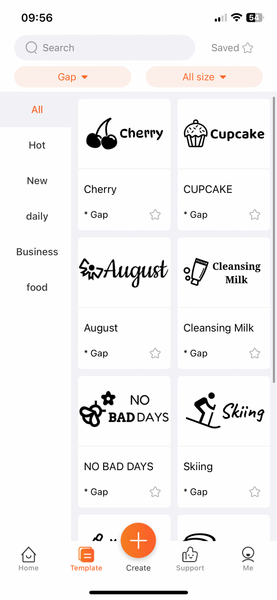
Free Design Software: Not everyone is a pro at Adobe or Photoshop. No worries—the Munbyn Print App has you covered. It has templates and lets you design stickers on your smartphone or iPad.
Sticker Labels: If you have an inkjet or laser printer, you can use paper stickers or vinyl paper. We're using BPA-free thermal labels here. They have sticky backing, so they're easy to attach to your planner pages. You can find all sorts of cool sticker labels, like gold-transparent, rectangular, round, and more. And don't worry about spills or splatters—they're waterproof and resistant to oils.
Phone, iPad, or Computer: Download the Munbyn Print App on your phone or iPad to design your stickers. Then, send them to your label maker via Bluetooth. If you have a larger USB label printer, you can create sticker labels in Word or Canva and then download them for printing.
Optional: If you want more intricate stickers, like kiss-cut or die-cut, you might need special cutting machines like Cricut or Silhouette.
Common Ways to Use Planner Stickers
- Covering dates
- Marking special days
- Planning meals
- Making to-do lists
- Organizing social media schedules
- Managing calendars
DIY planner stickers on your own
Step 1: Design Your Stickers
Start by connecting your device to the label maker. Once it's connected, you can start making stickers. There are different templates to choose from, or you can create your own design.
*Tip: Make sure your design fits well and leaves space at the edges so that text or images don't get cut off.


Step 2: Print Your Stickers
Once your design is ready, load the sticker paper into the label maker. Click on "Preview and Print" and adjust the print density for a darker look if you want. Then, click "Print."

Step 3: Apply Your Stickers
Peel the backing off the sticker gently and press it onto the page where you want it. Messed up the placement? No worries! Thermal label paper doesn't leave residue and is easy to peel off without tearing your paper.
Have fun creating stickers!
Discover the joys of using stickers in your MUNBYN planner! You don't need to be a pro – Munbyn Print App helps you create your own stickers hassle-free.

